Showing posts with label tutorial. Show all posts

Friday, 30 November 2012

how to make salt dough angels

Hello!
Christmas is less than a month away and I am sooo excited! We prepared few projects and lots of ideas for you - handmade Christmas decorations, gifts and recipes for perfect celebration. We start today with an easy salt dough angels tutorial - enjoy! Oh, and don't forget to come back for more!

Here's a super easy salt dough angels tutorial. They are really cute and would make a perfect gift or Christmas tree decoration.


Mix all of the ingredients together - start with mixing salt and flour, then add water and oil. Kneel the dough for couple of minutes, once it's smooth put into a plastic bag and place in the fridge for 30 minutes.

To start just make 6 balls - one large for the body, two smaller ones for wings, one, even smaller, for the head and two smallest ones for hands.


 * roll the biggest ball flat and cut a circle out using a glass


 Make a hole with a toothpick at the top of the triangular. You can also decorate it at the bottom.

Place the wings on aluminium foil, wet them with a brush and little water and place the skirt on them. Using water will help the pieces to stick together. 

 Make a head and using water stick to the body. 

For the hands make two teardrop shapes and using a knife "make" fingers.

Press the bottoms of the hands with your finger.

 Use garlic press to make hair - just press some dough through it.

 Wet the head and stick hair to it. I usually do it one by one.


 Using a sharp pencil make little mouth - they look like they are singing :)

Bake them in no more than 100C. Too high temperature will cause bubbles to appear and trust me - you don't want that. Let them dry there for couple of hours. Once they are hard enough for you to handle them, take the foil of and put them back in the oven. Keep on checking on them, once they are hard on both sides they are ready.

I made a whole bunch of them for my Esty shop - just need to paint them now.

Tips:
  - do not leave the dough outside of plastic bag for too long as it will dry up and will crumble which makes it very difficult to work with
- if the dough is too dry - add a little water, if too wet - add some flour
- it is better to make the balls one at a time to make the pieces - if you do all the balls together, they will dry up before you have the time to work with them. 
- I recommend using acrylic paints to finish off the angels
- once you paint the angels cover them with clear acrylic spray or nail varnish 

Friday, 20 April 2012


I finished the project last night but couldn't take good photos until this morning.. So with a little delay here it comes: super easy photo holder DIY.


1. Supplies needed: some stones, washed and dried; easy to fold wire; brushes and paint. I used acrylic paint and it covered the stones perfectly. You can also spray the stones with clear spray once they are painted and dried - it would add some shine and make the colours brighter.

2. Paint your stones in chosen colours.

3. Wire the stones around as shown on the photo. Do the top loop by wiring around a pencil.

4. Add your photos and ta-da! You have an original photo didplay!

Tips:
You can leave your stones unpainted to create a natural look.
Use black and white photos if your stones are colourful.
Paint one side of a stone, wait until dry and paint the other side. 
You can paint your stones all in one colour to match your interior deco.
The holders are great as table number holders!


Have fun and see you soon!


Sunday, 12 February 2012

Heart garland DIY

Heart decoration DIY

I made my pink garland for The Sweetest Date using this tutorial. It's dead easy and very effective. Have fun!


This is not my tutorial! I found it on the internet some time ago and saved it. But I forgot to write where I found it! If this is your tutorial, please let me know and I'll be very happy to source it or put a link to your website/blog. 

Saturday, 11 February 2012

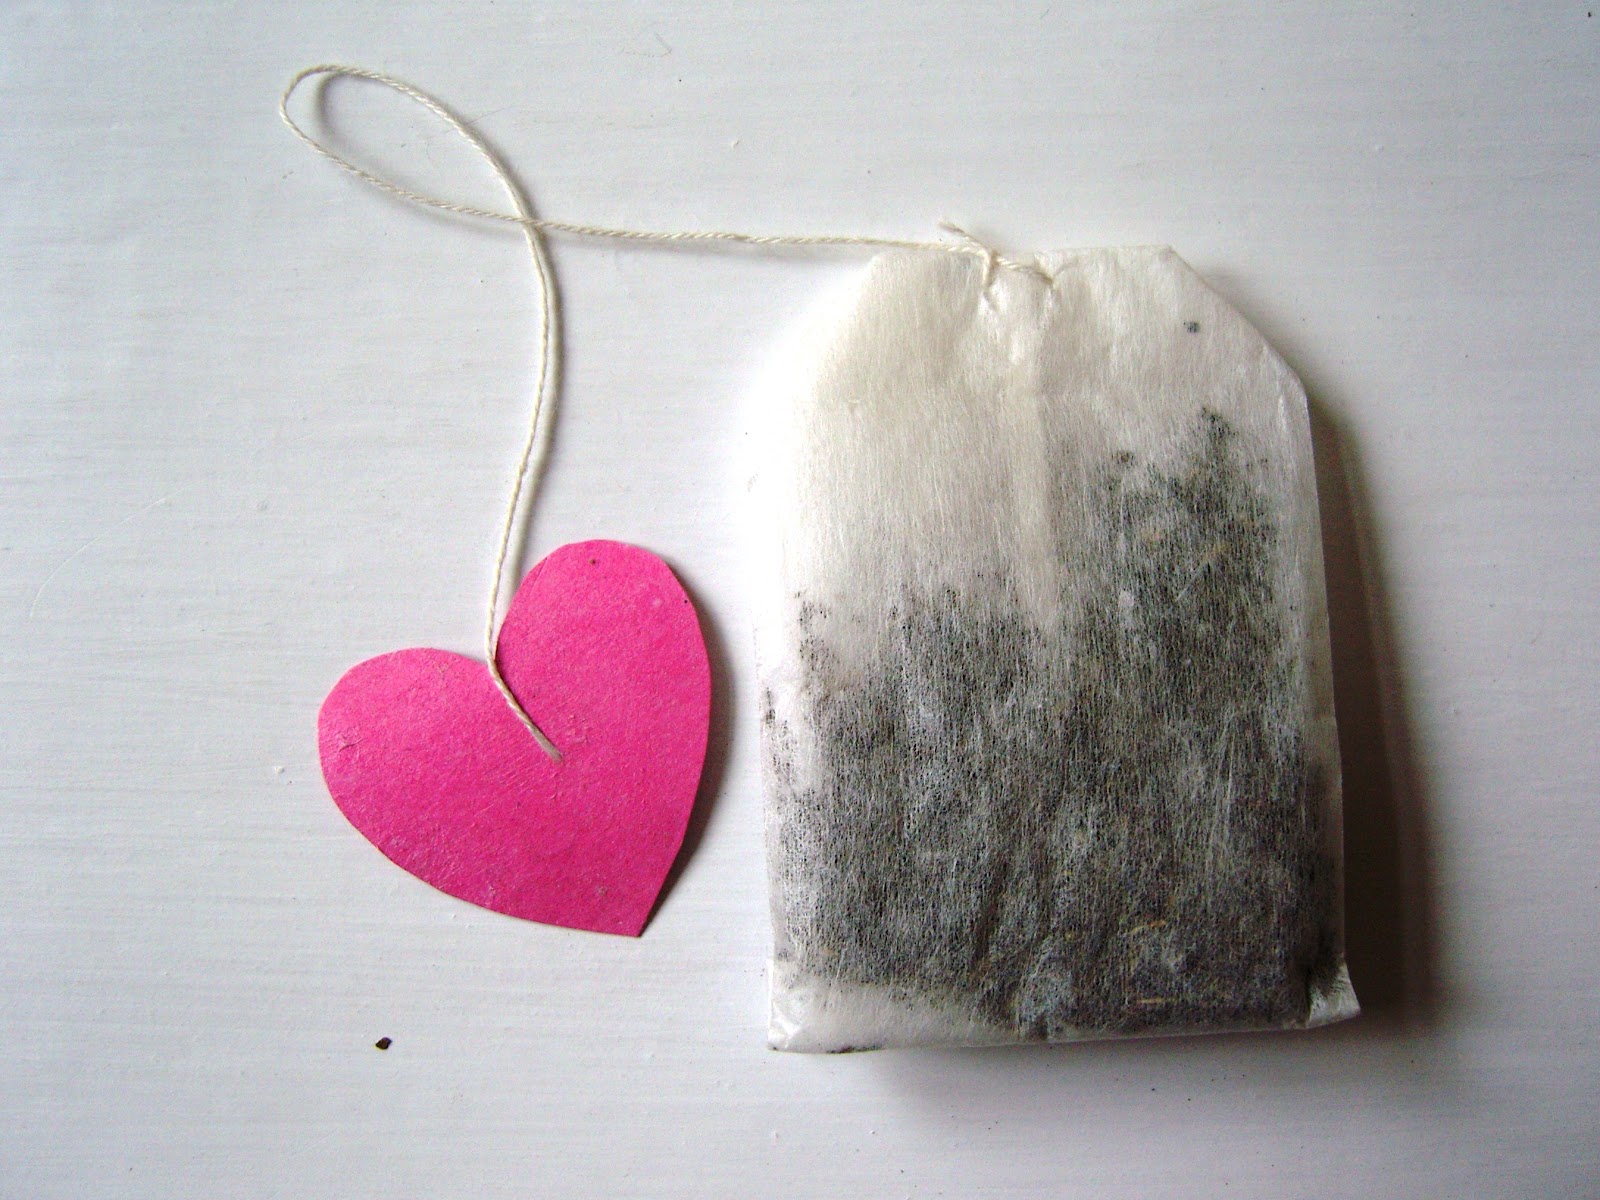
Cute tea bags

Valentine Gift DIY


This is a very easy project and a great present for your Valentine! I simply adore hand-made presents - they're very special and you know that whoever made it put thought and effort to it. Plus, whenever I make presents for a friend or family, I think about them the whole time. It somehow brings me closer to them :)


How to do it:
You will need: colour paper, a needle, paper heart (to use as a pattern), pencil, scissors, glue, tea bags.


1. Draw and cut little hearts out.


2. Take the original tag off, cover one side of a heart with glue, put the string in the middle and cover with another heart. 


 3. If you want to create your own tea mix: carefully open a tea bag - make sure you don't tear it.


 4. Empty the bag - you can now use it for your mix.


 5. Mix your tea. My all time favourite is roiboos, peppermint and lemon. You can use loose tea and mix it with spices, or do what I did: I only had tea bags, so I simply opened them and mixed the tea together.


 6. Put your mixture back into a bag and close it with its original string. Put your paper heart at the end of a string.


7. You can paint the box you bought your tea in and stick little hearts on it or write a message for your Valentine, or just put it in a nice box. I simply run out of time to do it. (and I drunk all the tea myself...)

Wednesday, 8 February 2012

Valentine's date idea

I was thinking of an unusual way of celebrating Valentine's Day with Mr. Boyfriend. I wanted something more than dinner/romantic evening (nothing wrong with that of course! I just wanted to create something we haven't done yet). I came up with some ideas on how to spend the day a little bit different. So I'm starting a Valentine's series with ideas for a date, easy DIY's and original gifts. I hope you will find some inspiration here! Enjoy!

PS. I know the pictures are not good.. I'm saving up for a new camera, so hopefully soon they will get much better :)


The sweetest date


I don't think I know anyone who wouldn't like sweets! Surprise your date with hand-made sweets and have a great evening! After all, chocolate is a grate aphrodisiac :)

What I did:
  • cinnamon cupcakes - you can find a recipe here (just add cinnamon and chocolate chips instead of coffee)
  • waffles with a choice of toppings, like whipped cream, sliced banana, choco powder, jam, dried fruits, chopped nuts etc
  • marshmallow lollipops 
  • hot chocolate - the best recipe is from Isak - check it out here
  • pink decorations to add even more sweetness 
I've planned super easy tutorials for everything I made for the date - I'll share it with you this week :)


Mr Boyfriend really liked the idea. Plus we got to eat everything after taking photos! 

Monday, 23 January 2012

Super easy bunting DIY


I love bunting! It's so easy to make and then you can use it to decorate pretty much anything. I made several of them for my shop and it really brightens up the place. I recently made some for my soon-to-be-sister-in-law's birthday party and everyone loved it! 

What you need:
  1. Some colour paper - or any paper you like. You can use old magazine, newspaper, wrapping paper, postcards, old calendar... The possibilities are endless!
  2. Scissors
  3. Hole puncher
  4. String
  5. Pencil and ruler


So here's how to do it in three easy steps:


1.  Cut strips of paper of the same high - that's how high your triangles are going to be. 


2. Draw triangles on the strips and cut them out. Mine were 12cm wide - I marked every 12cm on top of my strip and then did the same on bottom, but the first mark was at 6cm (and then every 12cm). Then I simply joined the dots and got perfect triangles :)


3. Punch hole each triangle and put the string through the holes. Continue until you have your desired length and ta-da! You have your own bunting!


I do apologise if my instructions are not clear - I'm totally rubbish at writing tutorials... Hope you can understand it anyway. Have fun!

I'm working on few bunting projects and will share them with you soon!

Kat

Wednesday, 13 October 2010

Owl attack

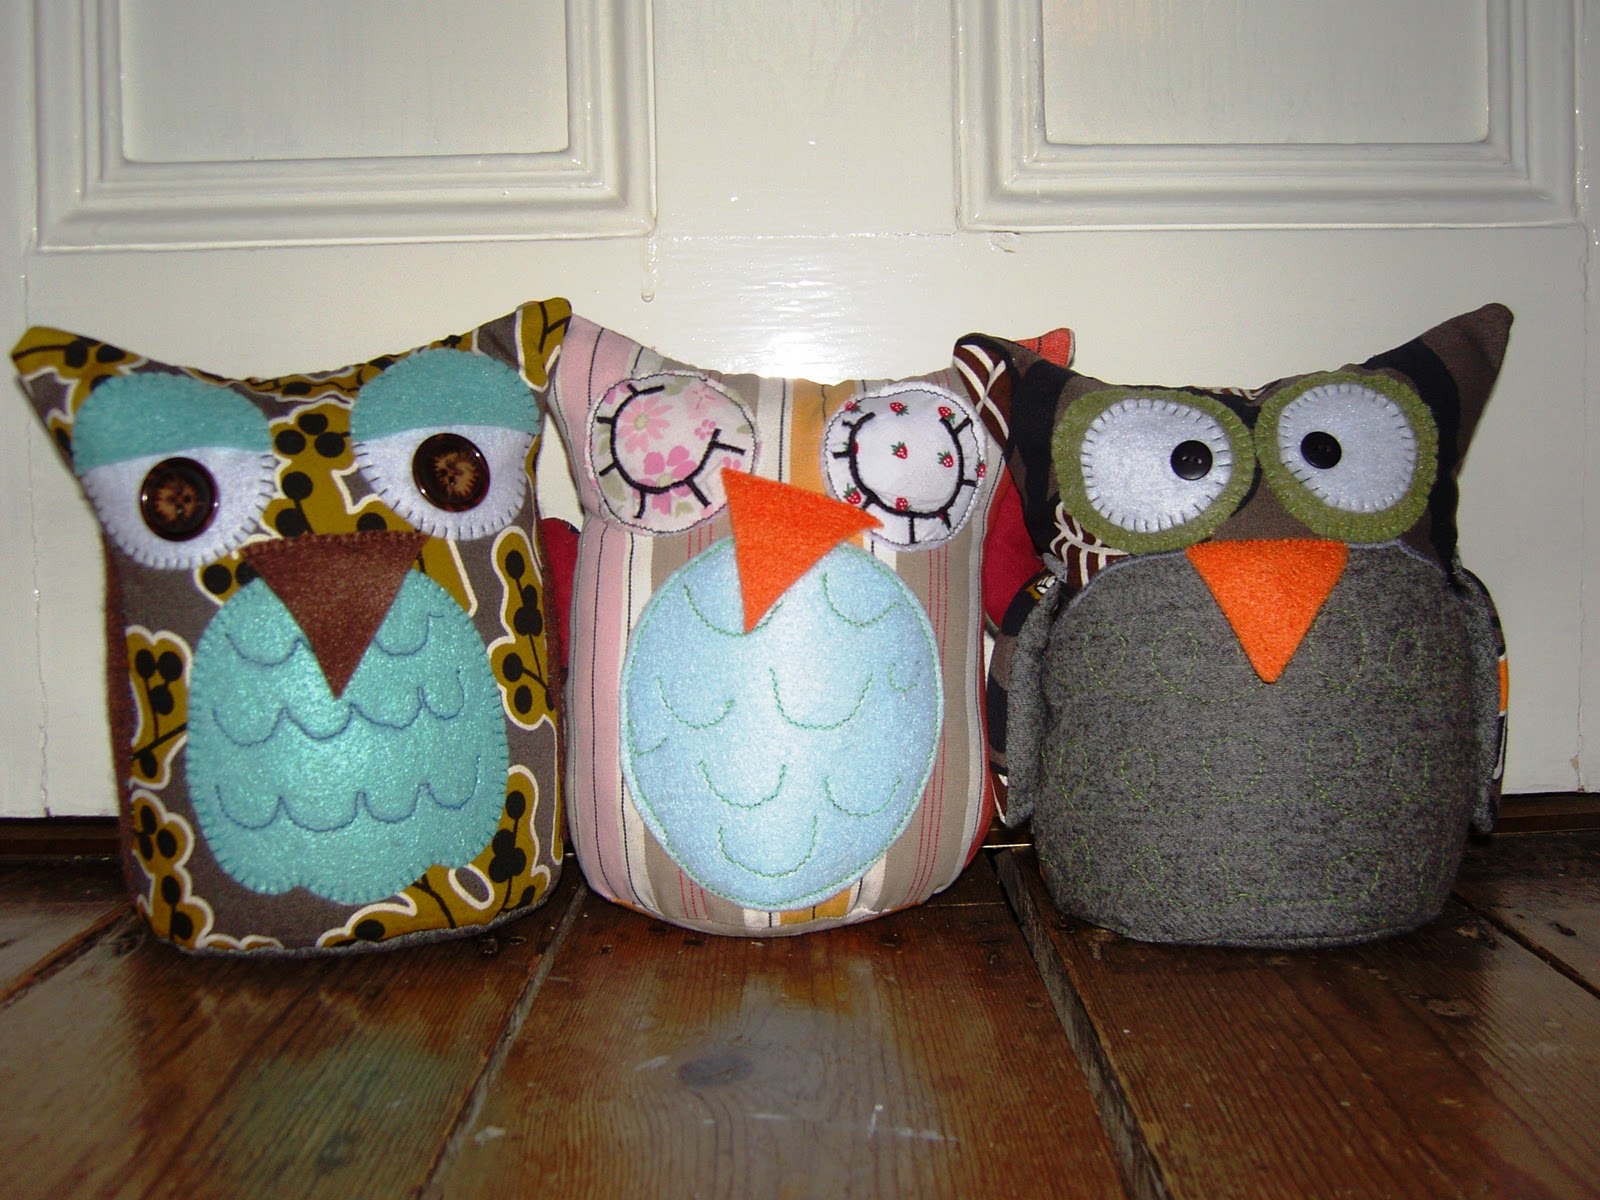
Here are some other owl doorstops I made. I used the first owl (the one I did the tutorial on) as a guide, so that I had a chance to see what measurements, fillings and materials I should use. Once I figured it all out I could get more creative with them and here they are


I'm putting them up for sale, so if you don't feel like making your own owls you can always buy mine (oh yes please do!). 


I search the net for inspiration and sometimes make something similar to what I found and liked. Ok, I feel the urge of making more owls. See you soon!

Kat

How to make an owl doorstop


Hi guys! Here's the tutorial on how to make an owl doorstop. I'm not very good at writing instructions but will try to make it easy and understandable.

    1. Draw an owl on a piece of paper and decide how you want your owl to look, then cut it out, so that you have your pattern. 
    My owl is 20.5cm wide at the bottom and about 19cm high, but you can make it bigger or smaller, those measurements simply work for me best. For the bottom you need a circle and it took me a while to figure out how large I need to have it... Mine has a radius of 6.5 cm, but don't forget to add about 0.5cm for sewing allowance (so you need a circle with 7cm radius).


    2. Copy all shapes onto a pattern copying paper (or any other paper), cut them out, pin the shapes to the chosen material, draw around them and then cut everything out.


    3. Using sewing machine, sew satin stitches around the edges of your material. I did it for the belly, wings and beak (I stitched only the top of the beak). I used felt for the eyes, so I could sew it using a straight stitch or hand stitch it. You don't need to satin stitch felt as it will not unravel like other materials. Use buttons or glass beads for the pupils.


    4. Once you're finished and happy with the look of your owl, lay your owl back face up and lay the front of the owl on top facing down. Pin it together so that it doesn't move when you sew it and machine stitch the sides and the top. Remember to leave an approximately 10cm gap at the top for turning and stuffing. Make small scissor snips round the stitched curved edge to have a smooth finish.


    5. Pin the bottom of the owl and machine stitch round the edge. I found it the trickiest bit, as it was a slow and annoying process for me, but after making several owls it's not that scary any more.


    6. Your owl is nearly ready now. All you need to do is to turn the owl out the right way through the gap and fill with lentils, split peas or rice to make the doorstop heavy. 
    I never fill my doorstops right to the top, I just make sure it's heavy enough and then fill it up with toy stuffing. You can of course put as much rice or lentils as you want, or you can fill it up with some material scraps. 


    Stitch the gap using invisible stitch and ta-da! You have a pretty owl :)


    I hope you'll enjoy making your own owl doorstop. If there's anything not clear in my tutorial please let me know and I'll try to improve it.
    Have fun!!

    Kat

    Search This Blog