Thursday, 15 March 2012

A little blog break...

...which you've probably noticed already... We're working on a web-shop and that takes all our time, so althought I've planned posts for whole month I never have time do to it :(

But the good news is that we re-thought our shop and there's lots of exciting things coming up! We're really working hard here so please be a little patient with us and we promise you won't be disappointed!

Meantime, here's something that I'm sure will make you smile!


See you, hopefully, very soon!!

Friday, 2 March 2012

Spring is in the air!

Well, not really... It's gray, cold and miserable outside. It's this funny time of the year - winter is over but it's not spring yet. The snow does not longer look like snow, trees look dead and there's no grass. So to put myself in a happy springy mood I did 'green' window display last night. 

It looks better in reality.. I'm still learning to take good photos and to edit them. The little dots on the second photo is paint from when the outside of the shop was painted last year. I'll clean it when the weather gets better :)

And I'm really happy with my little green vases - there were so easy to make! I have a tutorial on them and will share that with you on Monday (I've finally made a list of posts for whole month, so I'm going to blog every day now. That's a promise.)

Have a happy springy Friday!

Monday, 20 February 2012

Meet Kuba, our new employee

This is Kuba. She joined our little team last week and we all really like her. She doesn't do much yet she helps us a lot. She loves fashion and dressing up..


There's only one problem with her - she has a truly enormous head! It makes her look like an allien so we decided that she's much better off without it. 
Kuba and I are working on a fashion series together. It starts later this week and we both can't wait!

Have a great Monday everyone!


Saturday, 18 February 2012

In the shop

I do apologise for never finishing the Valentine's series. Mr. Boyfriend surprised me with a trip to Cracov for the weekend so I simply couldn't finish it. And I had great time there! I simply love the place :) ( I would share the photos with you, but I forgot to take my camera...)

It's been a busy week here in the shop. We have a new employee - she loves fashion and I will introduce her on Monday, had two new deliveries and now we are working on improving our jewellery display.


My soon-to-be-sister-in-law helped me with the delivery. If it wasn't for her I'd be still doing it.. So a big thank you Katka!


Now we have lots of sweet notebooks, diaries, memo pads, stickers...

Sunday, 12 February 2012

Heart garland DIY

Heart decoration DIY

I made my pink garland for The Sweetest Date using this tutorial. It's dead easy and very effective. Have fun!


This is not my tutorial! I found it on the internet some time ago and saved it. But I forgot to write where I found it! If this is your tutorial, please let me know and I'll be very happy to source it or put a link to your website/blog. 

Saturday, 11 February 2012

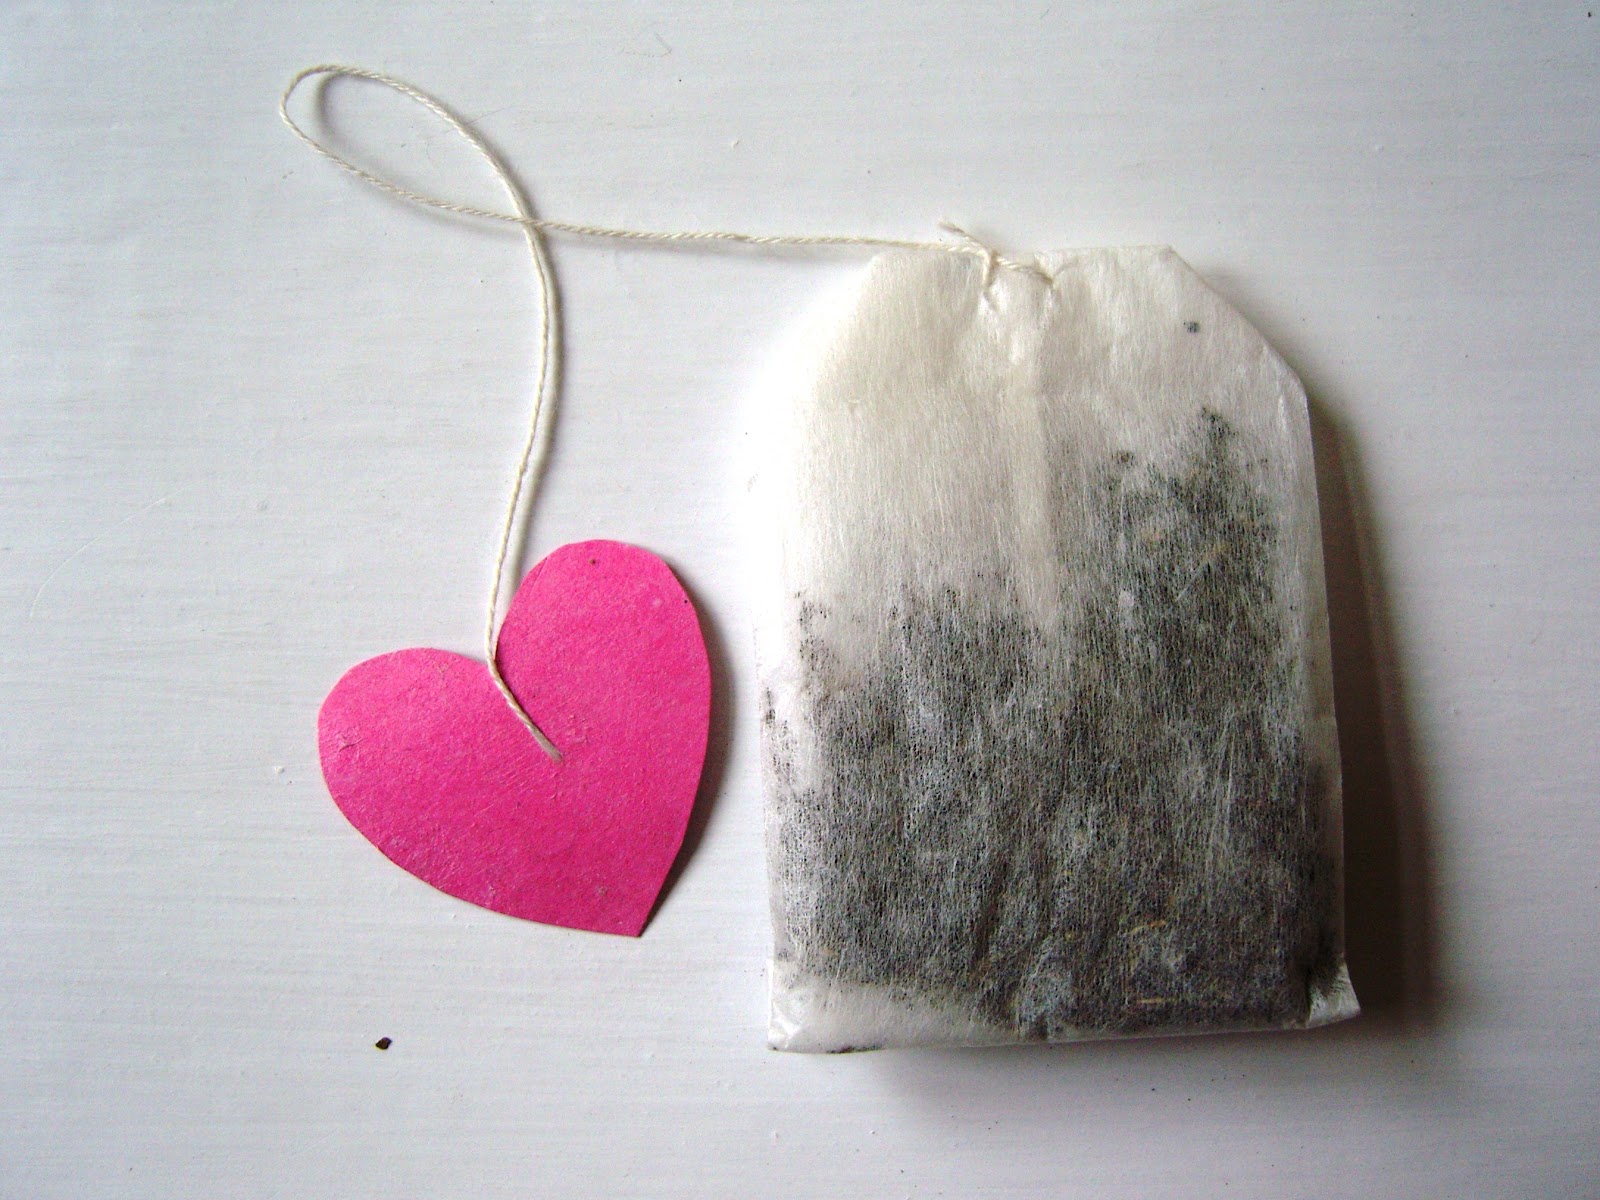
Cute tea bags

Valentine Gift DIY


This is a very easy project and a great present for your Valentine! I simply adore hand-made presents - they're very special and you know that whoever made it put thought and effort to it. Plus, whenever I make presents for a friend or family, I think about them the whole time. It somehow brings me closer to them :)


How to do it:
You will need: colour paper, a needle, paper heart (to use as a pattern), pencil, scissors, glue, tea bags.


1. Draw and cut little hearts out.


2. Take the original tag off, cover one side of a heart with glue, put the string in the middle and cover with another heart. 


 3. If you want to create your own tea mix: carefully open a tea bag - make sure you don't tear it.


 4. Empty the bag - you can now use it for your mix.


 5. Mix your tea. My all time favourite is roiboos, peppermint and lemon. You can use loose tea and mix it with spices, or do what I did: I only had tea bags, so I simply opened them and mixed the tea together.


 6. Put your mixture back into a bag and close it with its original string. Put your paper heart at the end of a string.


7. You can paint the box you bought your tea in and stick little hearts on it or write a message for your Valentine, or just put it in a nice box. I simply run out of time to do it. (and I drunk all the tea myself...)

Friday, 10 February 2012

Marshmallow Pops

That's how I made the 'lollipops' for The Sweetest Date. It's really very, very easy (and in my case very, very messy..). Oh, I just managed to take two pictures during preparations, my chocolate was melting like crazy and had to stare it all the time!


You will need:

  • lollipop sticks - I used wooden sticks from my local craft shop
  • marshmallows
  • plain chocolate or cooking chocolate

Optionally:
  • cupcake sprinkles
  • ribbon to tie on the sticks - just to make them pretty

1. Start with putting marshmallows in the freezers for approx 5 minutes - they are so much easier to put on a stick when they are cold!


 2. Put them on a stick


3. Melt your chocolate in a bowl placed over boiling water, or alternatively melt in a microwave. I was advised to add a spoon of butter to the chocolate and melt it together - it was smoother.


4. Cover the marshmallows with chocolate. If you want to sprinkle it with cupcake sprinkle do it straight away. I regret I didn't have any at the time, they would look much nicer.


5. Leave to cool - I put mine in a tall glass and placed in the fridge to speed the process up.
It your marshmallow 'lollipops' or dunk it in hot chocolate :)


Search This Blog